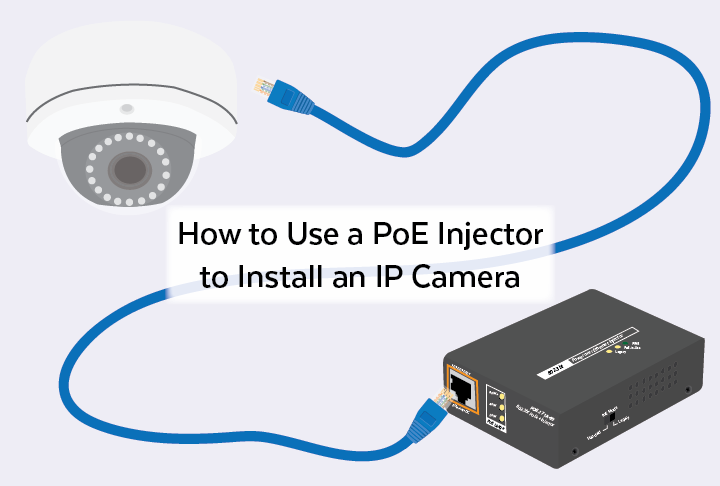
Install an IP camera using a Power over Ethernet PoE injector by following these simple steps.
What You Need
- IP camera(s)
- 1 PoE injector per IP camera
- 1 existing [non-PoE compliant] switch
- Cat5e, Cat6, or Cat6a Ethernet cables
Directions
| Step One: | Test all equipment on a bench to ensure the IP camera, PoE injector and management of the camera is working. This allows you to default the camera settings if the reset button is located on the IP camera. Make all video and network configurations on the bench before mounting.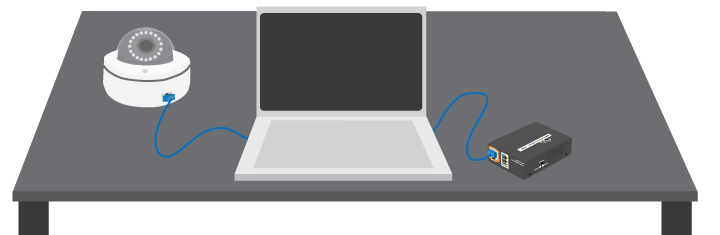 |
| Step Two: | Connect the Ethernet cable into the PoE injector’s Power+Data port and into IP camera’s PoE port. 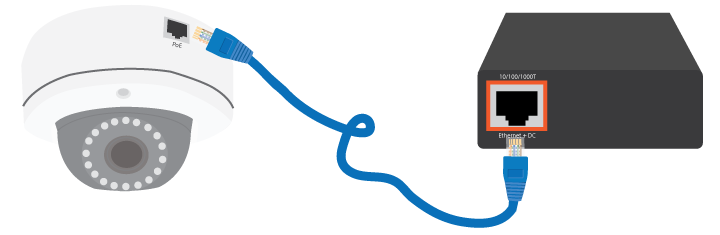
NOTE: Up to 100m unless using an extender. Use of a Ethernet LAN tester will help verify any contact or wiring issues. |
| Step Three: | MOUNT IP camera in place. Be sure light is adequate to capture a clear image on the screen. AVOID back-lit images that washout and even conceal facial features. 
NOTE: Make sure that the camera is properly angled to capture the faces of subjects of different heights.
FURTHER NOTE: Dome cameras are the least tamperable and therefore best suited to outdoor locations where the possibility of vandalism exists. |
| Step Four: | A second Ethernet cable will need to connect from injector’s Data port into switch. 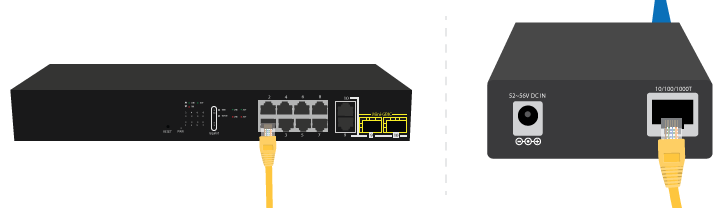 |
| Step Five: | Plug injector power cord into a local AC electrical outlet. 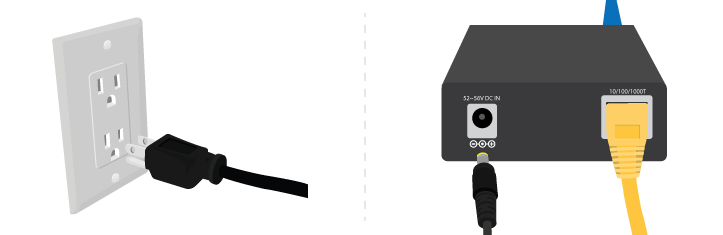 |
Why is PoE required for IP cameras?
IP cameras are smart technology and therefore require data to operate at optimum capacity. They send data [pixelated images] to centralized monitoring locations, like security offices, either locally or over the Internet.
They may also be accessed and managed remotely.
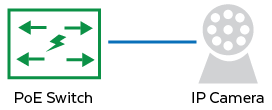
How do IP cameras connect to networks?
PoE cameras have 2 connections coming off each device:
- Ethernet for data
- Optional power cord
When you are running through a standard PoE switch, you will not need the power connection. In this case no injector is needed.
 If you have a switch that does not PoE capable, you will need to find an alternate way to power the IP camera as non-PoE switches do not deliver power to PoE devices.
What types of cable are needed to connect IP cameras with a PoE injector?
Ethernet cable or twisted pair requirements for an IP camera are the standard Cat5e, Cat6, or Cat6a Ethernet cables.
With PoE injectors, you send power and data through the Ethernet cable between the IP Camera and the injector.
The data travels from the switch into the injector, which feeds it to IP camera over 2 pairs of wires in the Ethernet cable.
Power will also feed into the PoE injector via a standard power cord that travels from a power outlet. The injector sends the power to the IP camera through the second wire inside the Ethernet cable.
What technology compliance standards are required to fully optimize your IP camera?
As the levels of sophistication of smart technology increase, so do the power requirement. PoE is considered low power. For instance, they may be activated by motion sensors. This saves on power usage but may also demand more power once the camera and the sensor go into operation.
That’s why it’s important to check how much power your IP camera requires before purchasing your PoE injector.
Injectors can deliver 30W, 60W [Type 3], or 90W [Type 4] of power. These levels correspond with the IEEE 802.3at [Type 2] and IEEE 802.3bt [Types 3 and 4] standards respectively.
This whole process is simple, once you understand the function and requirements for each component in order to install your IP camera.
~~~
If you would require further help with incorporating injectors into your security camera system installation, click here to send a request for a custom quote. Be sure to check if your IP camera is IEEE 802.3af/at/bt compliant before reaching out. If the manufacture states your device supports PoE, you may want to double check if it is IEEE compliant or if the device requires passive PoE such as a 24VDC input.
Join the Discussion One Comment